E-Documents allow the patient to fill out a form while in the virtual waiting room, and electronically sign it. Users with an Account Administrator or Clinical Supervisor role can create/edit as many templates as needed, and delete templates as well. Common uses for these E-Documents include Statements of Understanding and intake forms. For a good overview of this feature, please see the video recording of a webinar we hosted on e-documents.
This support article illustrates how to create a packet of documents--a preset grouping of documents that you want a participant to see. You will need to have at least one e-document template already created.
The system packet "All Documents" includes every document as an optional document. To require a document for a participant, you will need to create a new packet.
The system packet "No Documents" excludes every document.
The system packet "Custom Default" excludes every document by default, but its settings can be edited to include any e-document template as Require Before, Require After, or Optional.
You may also be interested in:
Create new packet
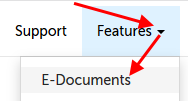
- Click on the "Features" tab and select "E-Documents" from the drop-down menu.
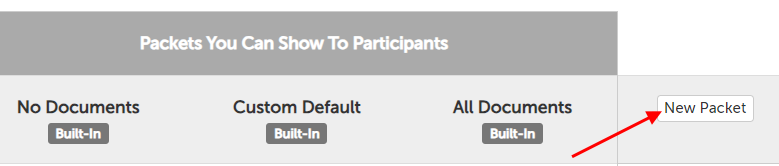
- On the next page, use the "New Packet" button on the right hand side of the table.
- If you have already received E-Documents before, click on the "Edit Templates" button in the lower left-hand corner first, and then the "New Template" button on the next page.

- Enter the name of the packet as you would like it to appear when selecting which packet you would like a participant to see. (The packet name and description are NOT shown to participants.) Then click the "Save" button.
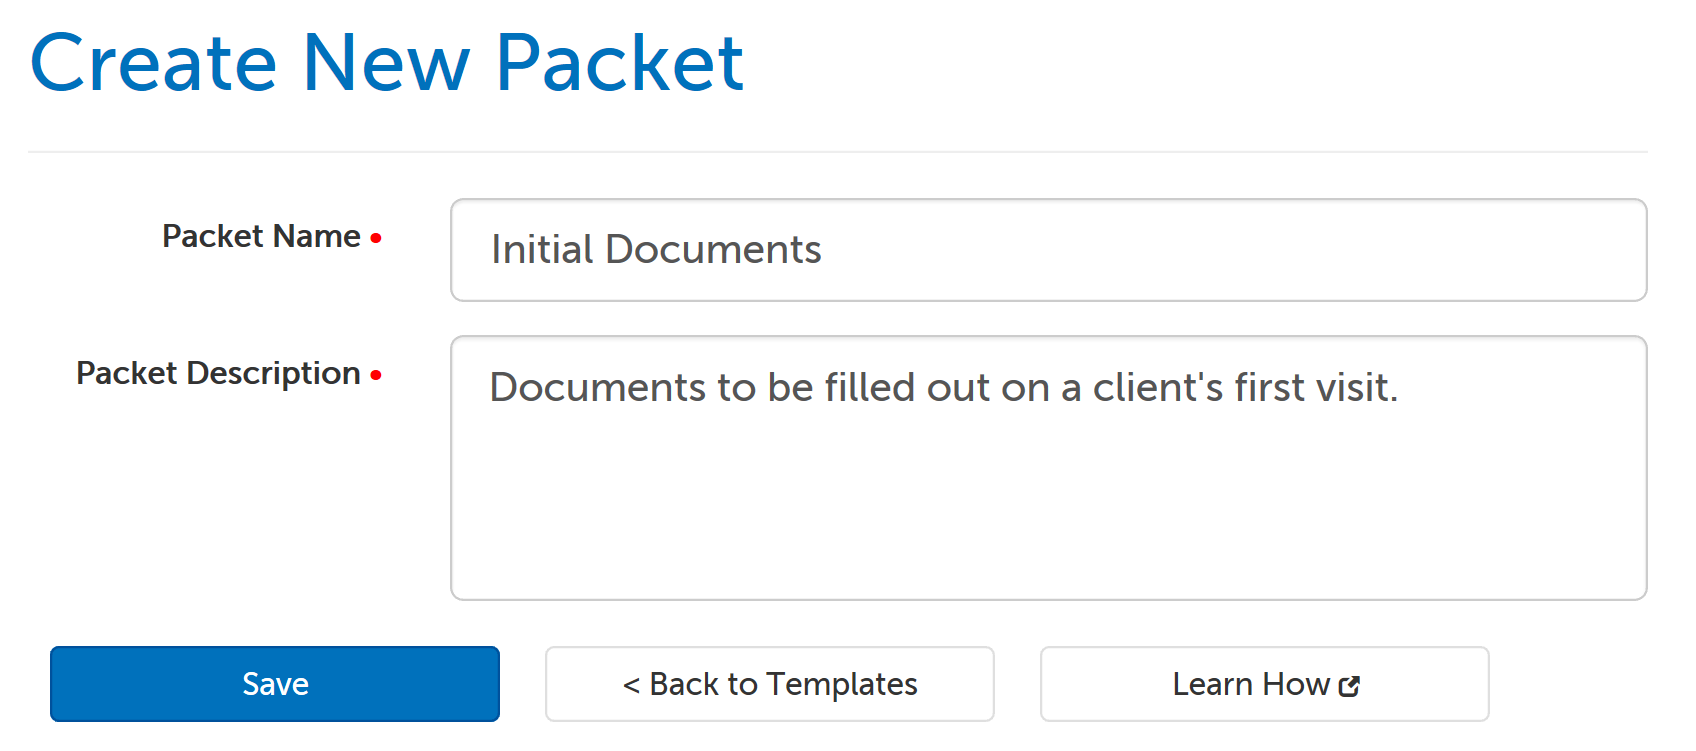
- The name must be something other than "All Documents", "No Documents", or "Custom Default" because these packet names are already in use.
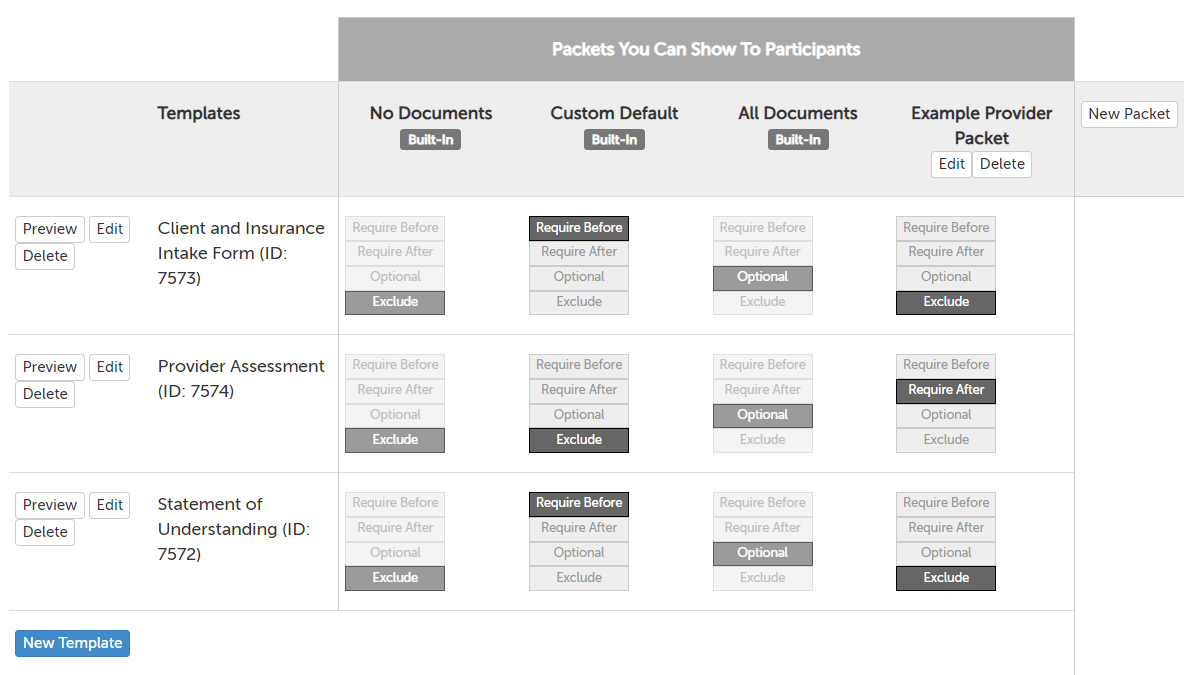
- The darker color indicates the selected option for a document in a given packet, and changes to packets on this page are automatically saved.
- Require Before: Click this button to require this document when this packet is selected.
- Require After: Click this button to have this document appear to the participant after the session has started.
- Note: While our system will show this document to the participant to fill out, the participant can always close the window. If you really want to require a form, we would recommend requiring the participant fill it out before they are allowed to enter the session.
- Optional: Click this button to have this document appear in the list of Session Documents, but the participant will not be required to fill it out before the session, and will not be redirected to it after the session.
- Exclude: Click this button to remove this document from a given packet. (By default, no document is included in a new packet.)
Edit existing packet
- Click on the "Features" tab and select "E-Documents" from the drop-down menu.
- If you have already received E-Documents before, click on the "Edit Templates" button in the lower left-hand corner first, to get to the packets page. Otherwise, skip to step 3.
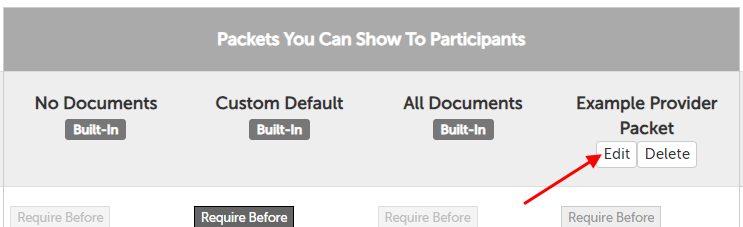
- If you would like to edit a packet's name, or view/edit the packet description, click on the "Edit" button underneath the name of the packet. (Depending on the number of packets you already have, you may need to scroll horizontally.)
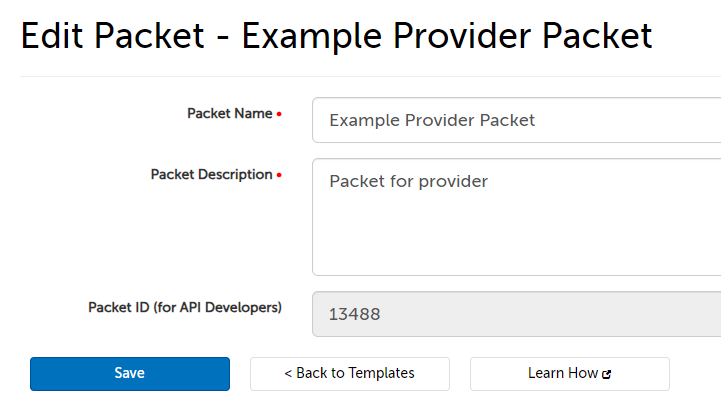
4. You can edit the name or description of the packet (neither is visible to the participant), and view the packet ID from here (if using the SecureVideo API).
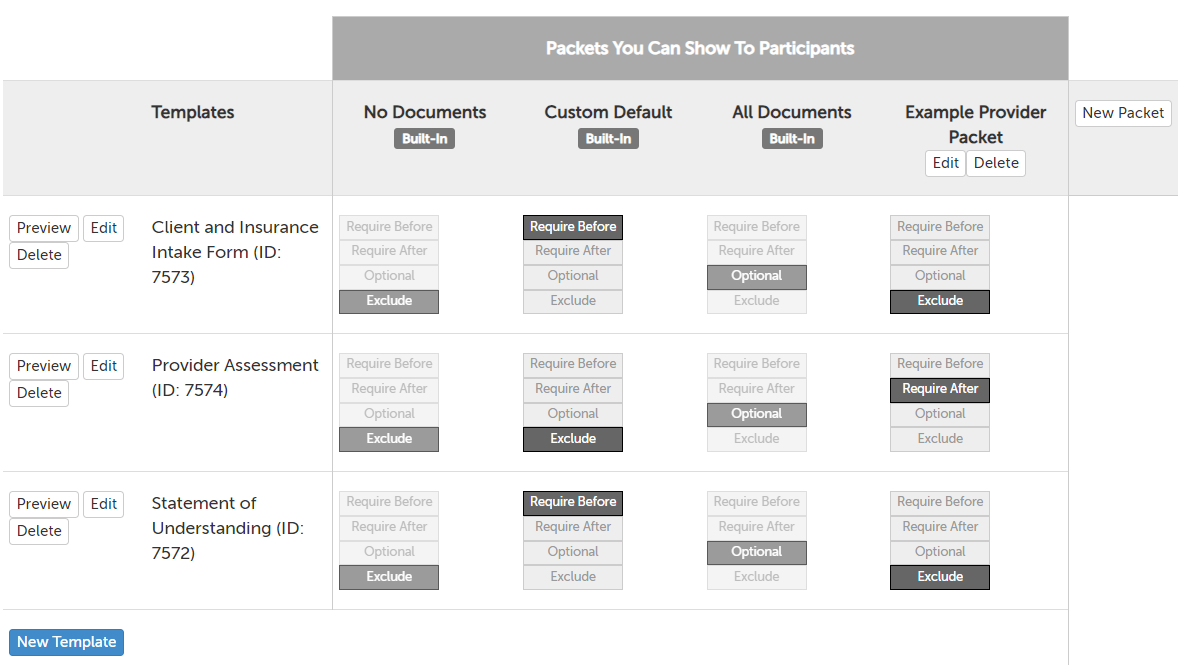
5. If you would like to change the documents included in the packet, click on the toggles underneath the packet name. The darker color indicates the selected option for a document in a given packet, and changes to packets on this page are automatically saved.
- Require Before: Click this button to require this document when this packet is selected.
- Require After: Click this button to have this document appear to the participant after the session has started.
- Note: While our system will show this document to the participant to fill out, the participant can always close the window. If you really want to require a form, we would recommend requiring the participant fill it out before they are allowed to enter the session.
- Optional: Click this button to have this document appear in the list of Session Documents, but the participant will not be required to fill it out before the session, and will not be redirected to it after the session.
- Exclude: Click this button to remove this document from a given packet. (By default, no document is included in a new packet.)
Delete packet
- Click on the "Features" tab and select "E-Documents" from the drop-down menu.
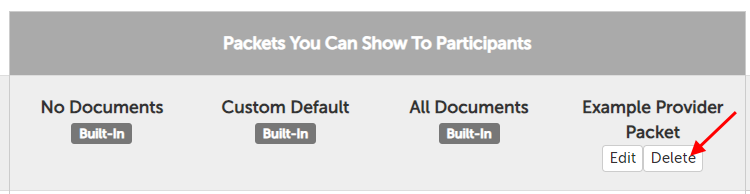
- On the next page, use the "Delete" button underneath the name of the packet you would like to delete.
- If you have already received E-Documents before, click on the "Edit Templates" button in the lower left-hand corner first, to get to the packets page.
Set the default packet assigned in sessions
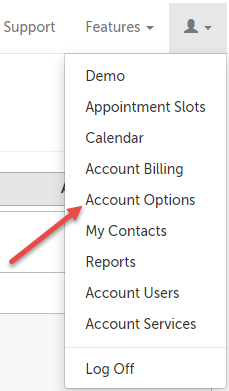
1. Click on the profile icon and select Account Options.
- If your account has multiple users and you are changing only for yourself, click "My Options".
- If your account has multiple users and you are changing only for one user, click "Account Users". Then click the "Options" button next to the specific user you want to edit settings for.
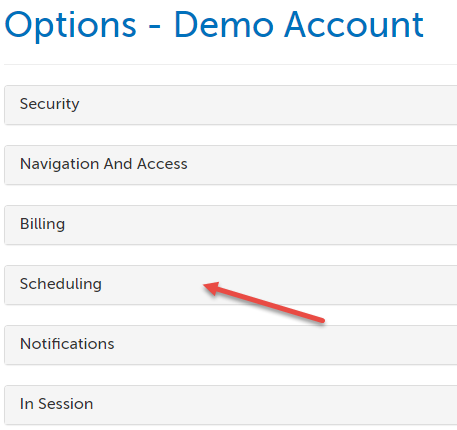
2. Click to expand Scheduling.
3a. To set the default packet assigned to participants: Scroll to the option "Participant Document Default" and click the drop down to select your default. The change will save automatically.
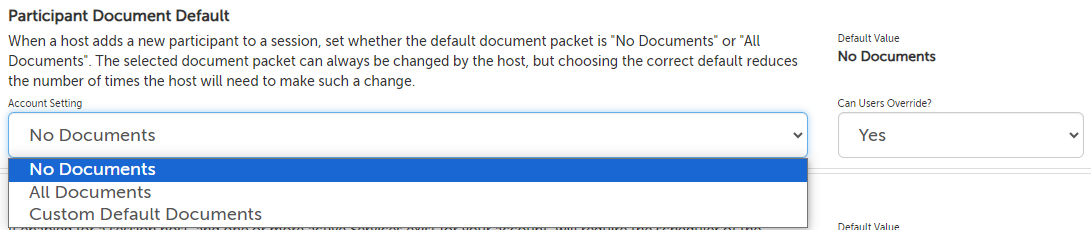
(NOTE: You will still have the ability to change the packet shown to the participant before the session is created. The default simply presets the value you've chosen, but can always be changed.)

3b. To set the default packet assigned to hosts: Scroll to the option "Host Document Default" and click the drop down to select your default. The change will save automatically.
Currently hosts can either have a default of "No Documents" or "All Documents". If "All Documents" is selected, Hosts will see the option to fill out all document templates upon subsequent session creation.

This article was last reviewed by our Support team on May 6, 2024.