SecureVideo has HIPAA compliant cloud recording as a premium feature. To request pricing to enable (or to disable) the recording feature on your account, please contact our Support Team at [email protected] .
Our recording feature works a little differently according to the videoconferencing engine connected with your account. The instructions below are applicable to cloud recording for One-Click, and cloud or local recordings for Zoom. This must be configured for your account by a SecureVideo staff member.
Each host or scheduler on the account will be able to specify whether or not a session should be recorded. If specified at the time of scheduling, all invitations, reminders, and notifications about the session will alert each participant, in accordance with Federal and State Law, that they are going to be recorded. Furthermore, when each participant arrives at your waiting room, they will again be alerted that the session will be recorded.
Any recordings stored with SecureVideo are stored in a HIPAA-compliant Amazon S3 vault. By default, they are accessible only to the session host and Account Administrators (and if enabled, clinical supervisors), but it is possible to allow users to securely share the recordings with other users.
Zoom Local recordings require that you be on a Windows or Mac computer, and not a mobile device, as the recording will be saved direct to the computer. With local recordings, the host is responsible for providing security for them--as local recordings are stored outside of the SecureVideo environment, they are not covered by our Business Associate Agreement. The local recording feature can be enabled for free by contacting [email protected] and signing/returning a waiver.
You may also be interested in:
HIPAA-Compliant Cloud Recording
Zoom: When scheduling a session
1. Click on the "Videoconference" tab.
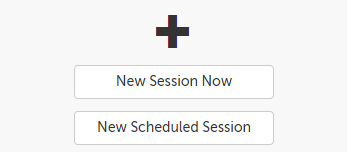
2. Use the "New Session Now" or "New Scheduled Session" button to create a new session.
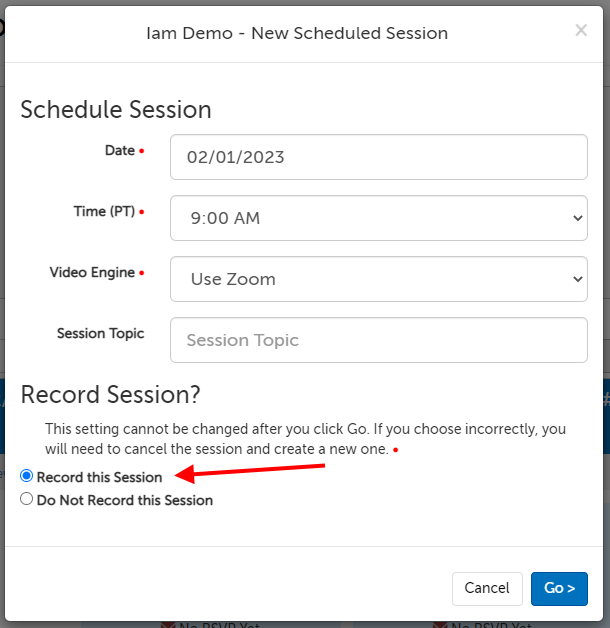
3. The first message that appears will ask the user to choose if the session will be recorded or not (defaults to "Do Not Record this Session").
- This example uses "New Scheduled Session." The prompt for a "New Session Now" would not ask for the date/time.
- For security purposes, once the session has been created, you will not be able to deselect the recording option. While you can stop the recording at any point within the session, if a session is marked as recorded, then the invites, reminders, waiting room page, and "Connecting" message will all note that this session will be recorded. If you do not want the recording to notice to appear in those places, you will have to cancel the session, create a new one, and select "Do not record this session."
- If "Record All Video Sessions" is set to "Yes" within your organization's Recording Settings, you will not see this question. All sessions will be marked as recorded.
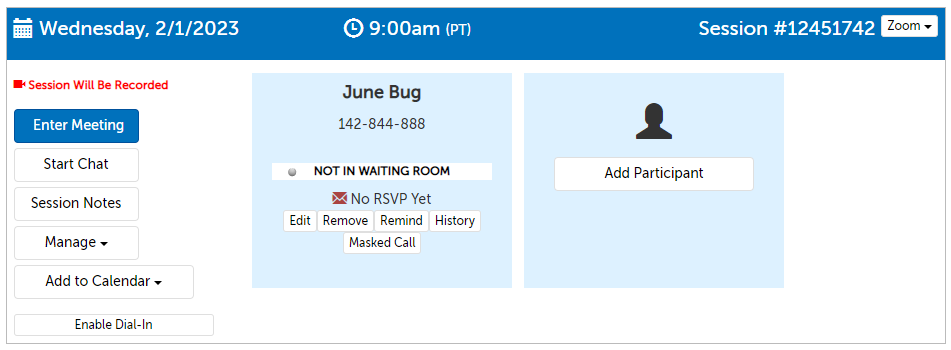
4. Invitations to participants will include notices that the session will be recorded. A note will also be visible to participants on the waiting room page, and to hosts on their Dashboard.
Zoom: During a session
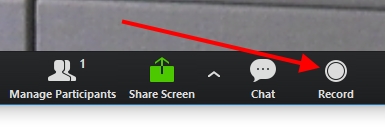
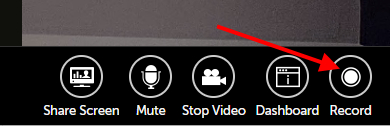
1. Once the session has started, move your cursor over the video windows so that the extended menu panel appears below.
2. Click on the Record button to start recording.
2a. If you would like to stop recording at any point, click on the "Pause" or "Stop" button. Click the "Resume" button to resume. The recorded segments will be combined at the end of the call. (If you end the session without stopping the recording, the recording will automatically stop.)
3. Once the session has ended, the recording file will be uploaded to your account. If notification setting is enabled, you will receive an email once it is available for viewing.
One-Click: When scheduling a session
1. Click on the "Videoconference" tab.
2. Use the "New Session Now" or "New Scheduled Session" button to create a new session.
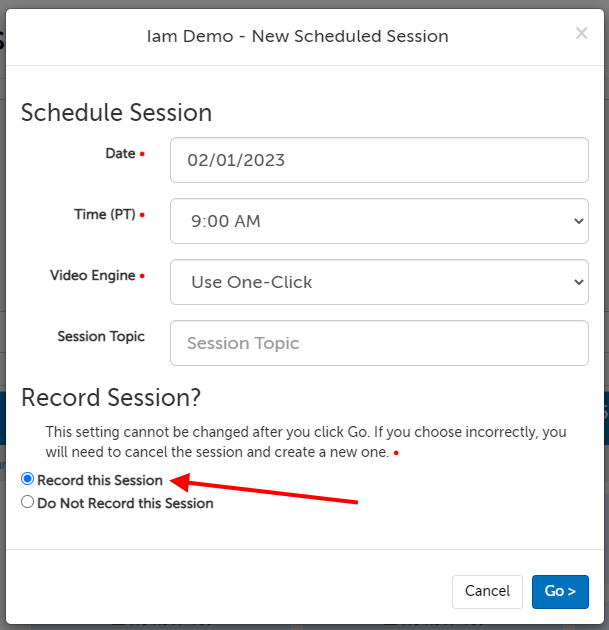
3. The first message that appears will ask the user to choose if the session will be recorded or not (defaults to "Do Not Record this Session").
- This example uses "New Scheduled Session." The prompt for a "New Session Now" would not ask for the date/time.
- For security purposes, once the session has been created, you will not be able to deselect the recording option. While you can stop the recording at any point within the session, if a session is marked as recorded, then the invites, reminders, waiting room page, and "Connecting" message will all note that this session will be recorded. If you do not want the recording to notice to appear in those places, you will have to cancel the session, create a new one, and select "Do not record this session."
- If "Record All Video Sessions" is set to "Yes" within your organization's Recording Settings, you will not see this question. All sessions will be marked as recorded.
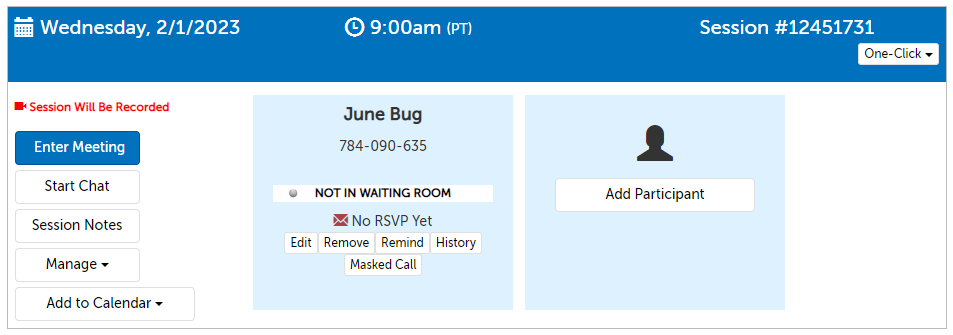
4. Invitations to participants will include notices that the session will be recorded. A note will also be visible to participants on the waiting room page, and to hosts on their Dashboard.
One-Click: During a session
1. Once the session has started, move your cursor over the video windows so that the extended menu panel appears below.
2. Click on the Record button to start recording.
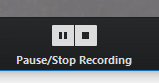
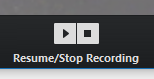
2a. If you would like to pause the recording at any point, click on the "Stop recording" button. Click the "Recording" button to resume. The recorded segments will be combined at the end of the call. (If you end the session without stopping the recording, the recording will automatically stop.)
3. Once the session has ended, the recording file will be uploaded to your account. If notification setting is enabled, you will receive an email once it is available for viewing.
Zoom: Local Recording (self-storage)
Local recordings require that you be on a Windows or Mac computer, and not a mobile device.
1. Once the session has started, move your cursor over the video windows so that the extended menu panel appears below.
2. Click on the Record button to start recording.
2a. If you would like to pause the recording at any point, click on the "Pause" button. Click the "Resume" button to resume, and the "Stop" button to end the recording. (If you end the session without stopping the recording, the recording will automatically stop.)
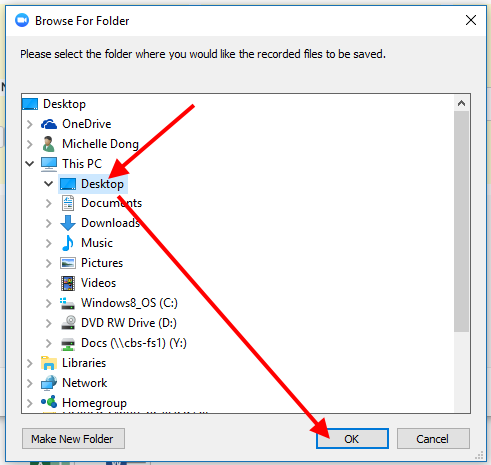
3. Once the session ends, the recording file will be finalized and you will be prompted to save it to your computer. Select "Desktop" in your directory so that it'll be easier to find later.
4. Follow the instructions in Recordings: Upload a recording file if you would like to securely store the recording with SecureVideo.
Zoom: Allow participants to record
In order to allow a participant to record, both you AND your participant must be on a computer, not a tablet or smart phone, and only the Local Recording option (not cloud recording option) should be enabled on your organization account.
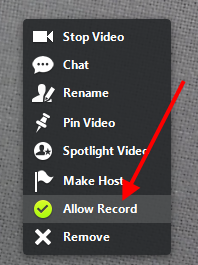
1. On a Windows computer, right-click on the video window of the participant you want to allow recording for, and click "Allow Record".
On a Mac computer, left-click on the video window of the participant you want to allow recording for, and click "Allow Record".
2. Your participant should see a little message on their end confirming they've been allowed to record, and can click on the Record button to record.
This article was last reviewed by our Support team on January 6, 2023.