Check to see if your camera is turned on/off:
To check if your camera is on/off, you can click on the F8 key shown below:

If you do not see a camera icon on the F8 key, check to see if it is on another key. If so, you'll need to click on the function key "Fn" (in the lower left hand corner of your keyboard) and the camera key at the same time to turn your camera on or off.
*If this did not resolve your issue, please proceed to the next steps below:
Windows 10: Edit Lenovo Vantage Settings
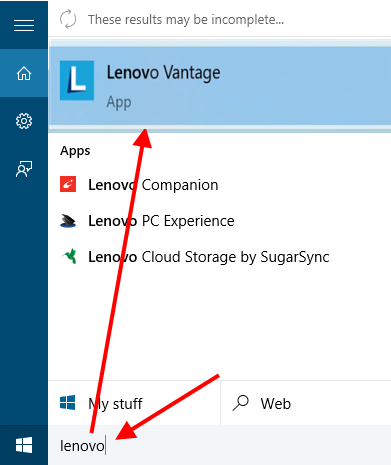
1. Search your computer for "Lenovo Vantage".
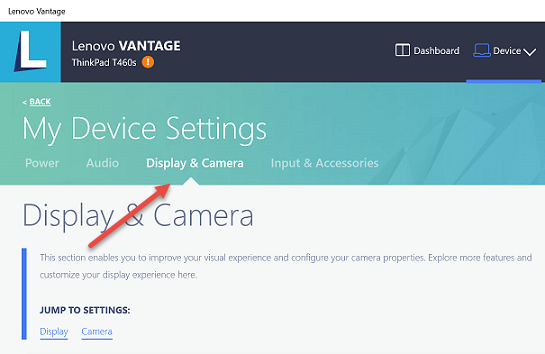
2. Navigate to My Device Settings --> Display & Camera.
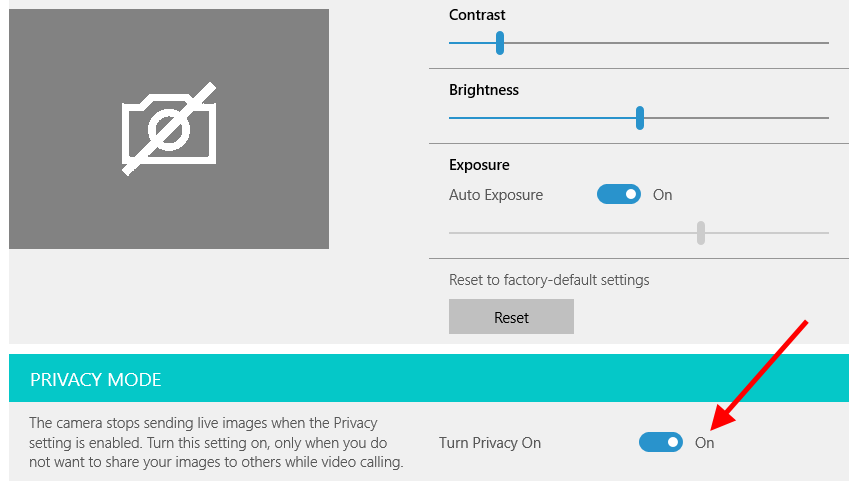
3. Scroll down to the Camera Privacy Mode and toggle off. (If it is showing green, that means it's set to ON)

Windows 8, 8.1: Edit Lenovo Settings
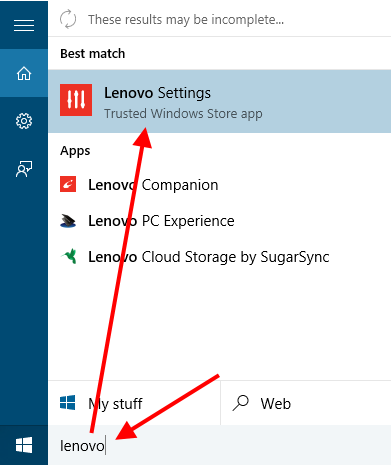
1. Search your computer for "Lenovo Settings".
2. Expand the window that appears until you see the "Camera" tab on the upper right hand side.

3. Scroll down to the bottom of the settings until you see the "Privacy Mode" setting. Click on the toggle to turn this off. Your image should appear in the preview window above it.
Older Windows versions: Edit the Communications Utility / Lenovo - Web Conferencing setting
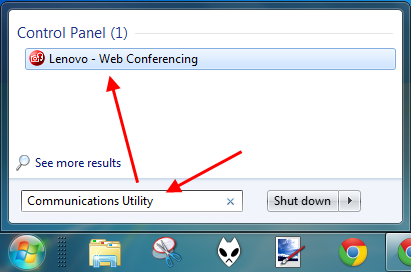
1. Click on the Windows icon in the lower left-hand corner of your screen, and search for "Communications Utility". When "Communications Utility" OR "Lenovo - Web Conferencing" appear in the search results, click on it. (They are the same thing.)
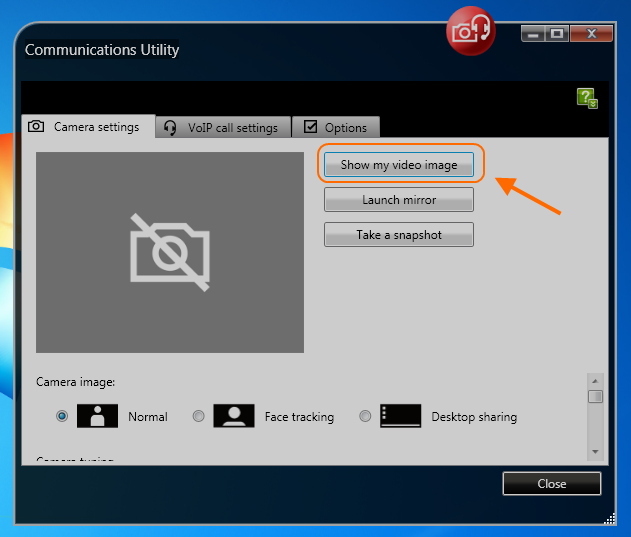
2. Click on the "Show my video image" button to the right of the image of the camera with a line through it. This should unmute your camera, and you should be able to see yourself in the preview window.
3. Close the Communications Utility, and continue with your session.
Uninstall the camera driver
If the above didn't work, you can reset your built-in camera settings by uninstalling its driver. (You will need to end your session first.)
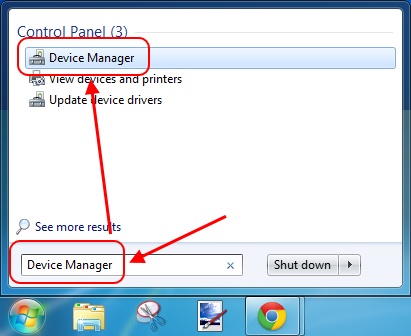
1. Click on the Windows icon in the lower left-hand corner of your screen, and search for "Device Manager" and then click on it in the search results.
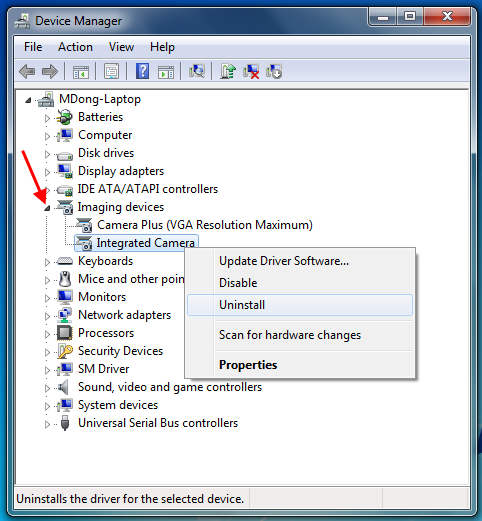
2. Click on the arrow next to "Imaging Devices" to find the driver for your built-in camera. Then right-click on "Integrated Camera" and select "Uninstall".
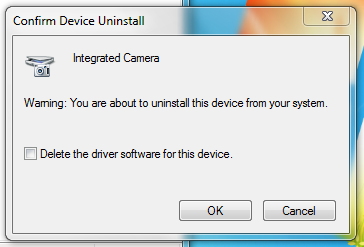
3. Click "OK" on the message that appears to confirm uninstalling the driver.
4. Restart your computer to automatically re-install your camera driver. Your camera should now be unmuted.
If you would like to test with a SecureVideo support agent, please schedule a technical support session. If you would prefer to test with yourself, see this support article for tips.
This article was last reviewed by our Support team on November 16, 2020.